


Here are the things you’ll need:
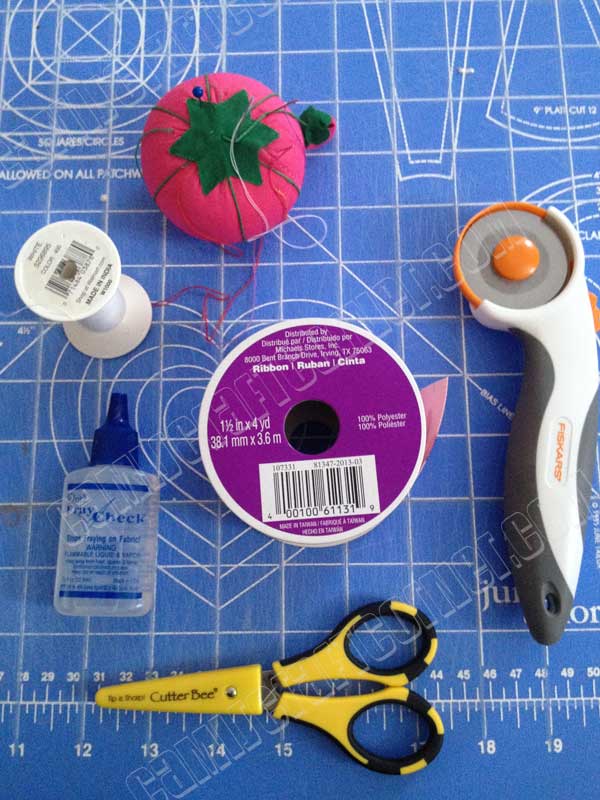
• 1.5 inch width ribbon
• 7/8 inch ribbon (not pictured)
• Needle/thread
• Fray check (to seal ends)
• Rotary cutter (optional)
• Sharp scissors (a must!)
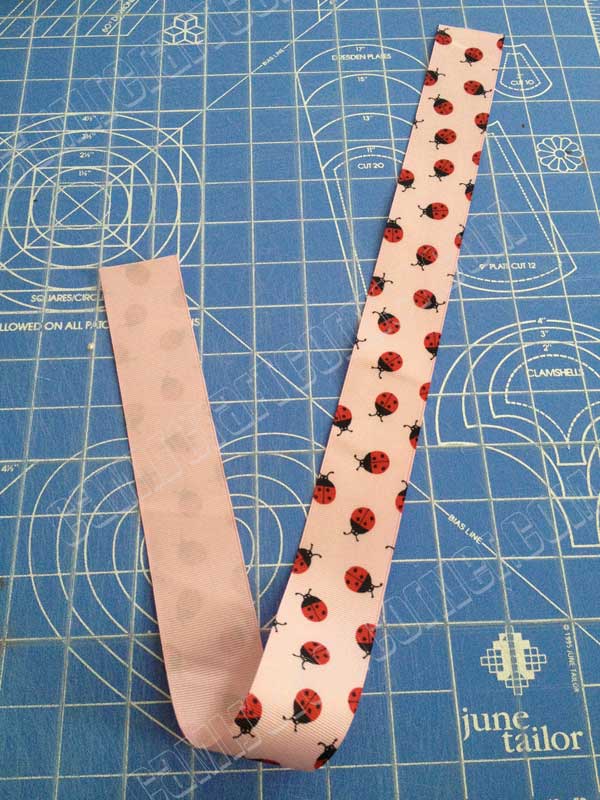
Start with a 26 inch cut of ribbon. I use the rotary cutter, but scissors will work. Just be sure to make a clean cut, or the ribbon will be much more prone to fray.

Fold the ribbon at around the 5 inch mark.
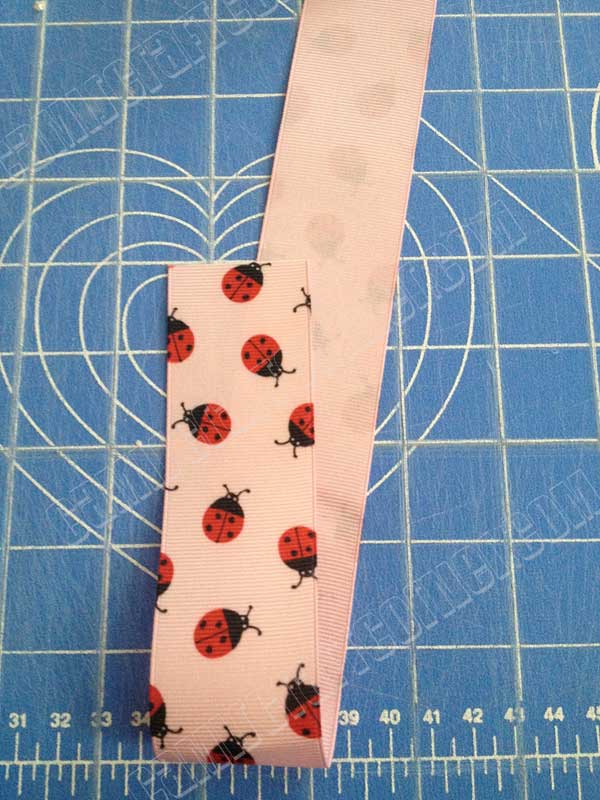
 Bring the tail over towards you to make another loop.
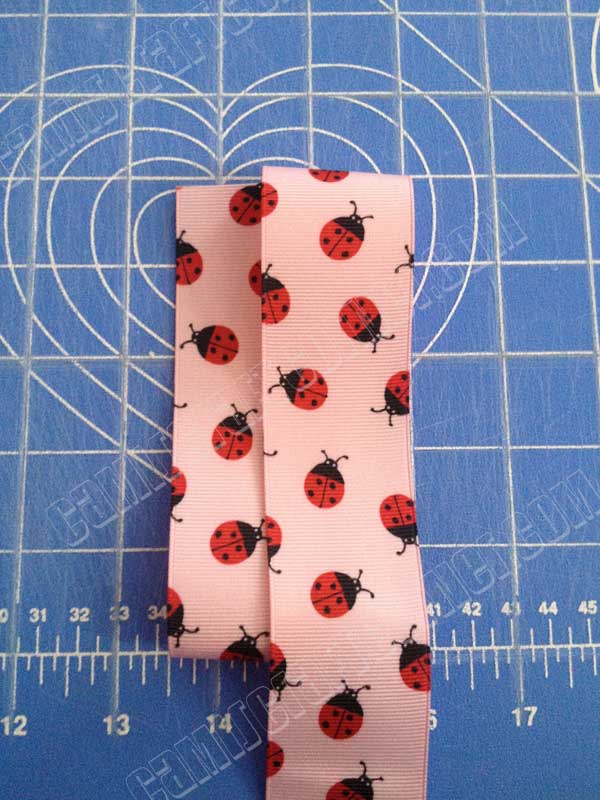
 Carefully lift to fold the tail under for another loop.
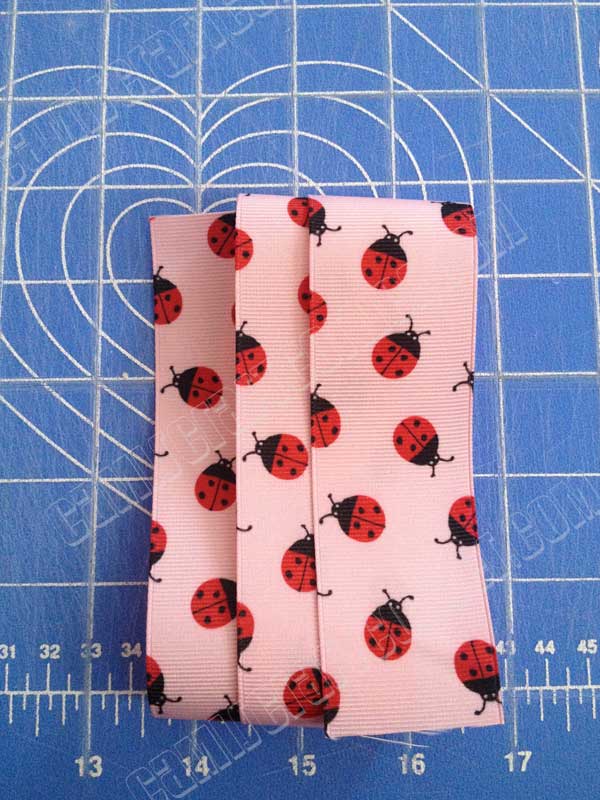
Bring the remaining tail towards you, one final time. Don’t worry if it hangs over a little. You get better at eyeballing this as you go along, and you can always cut off the extraJ
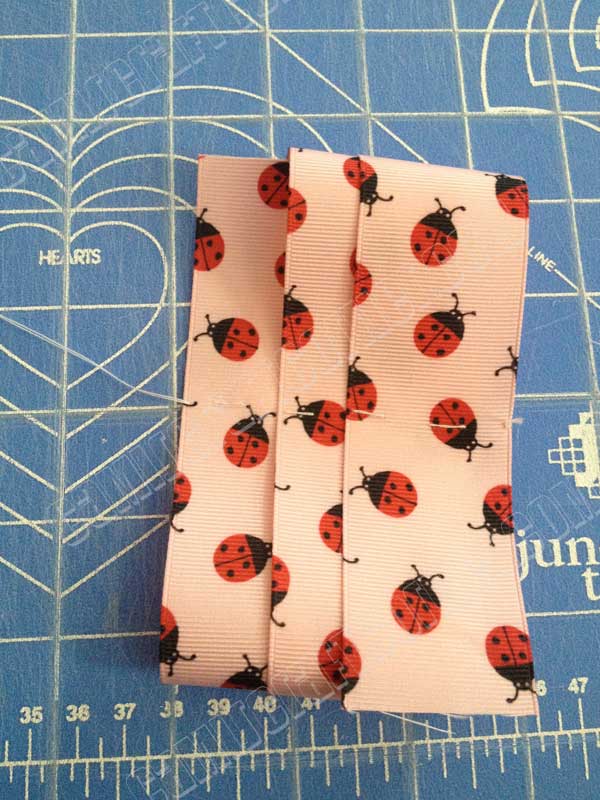
 Using a needle and thread, make a simple stitch from one end to the other, loosely spaced.
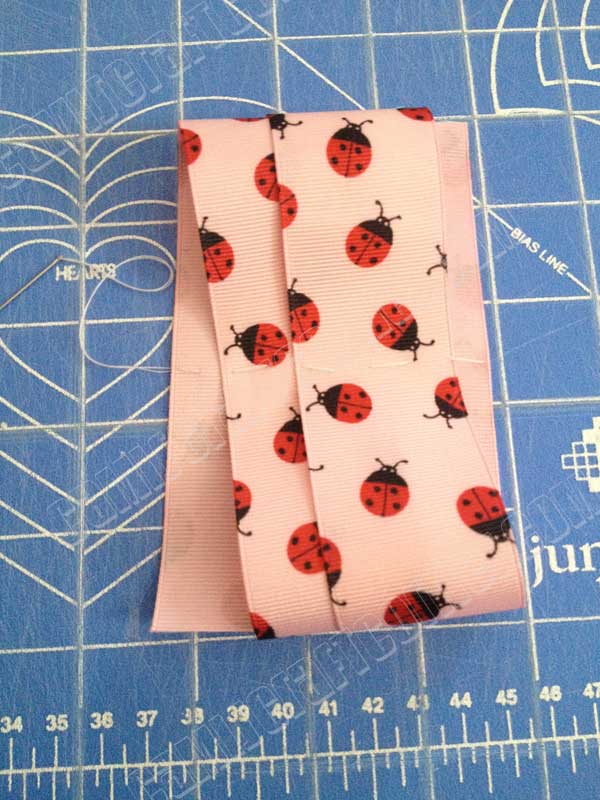
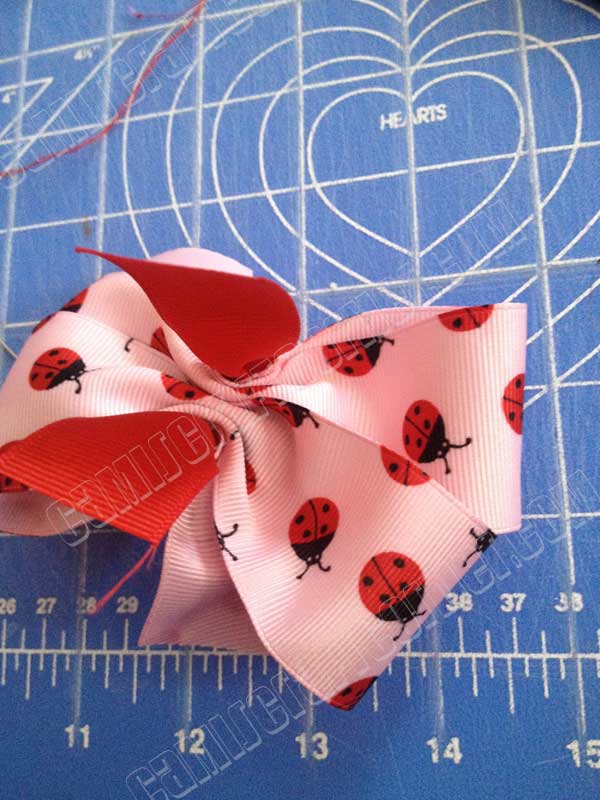
 Pull the thread tight to make a sort of “accordion fold” out of the bow. Cami demonstrated this step for me because I’m in desperate need of a manicure. It’s forgivable in a six year old;)
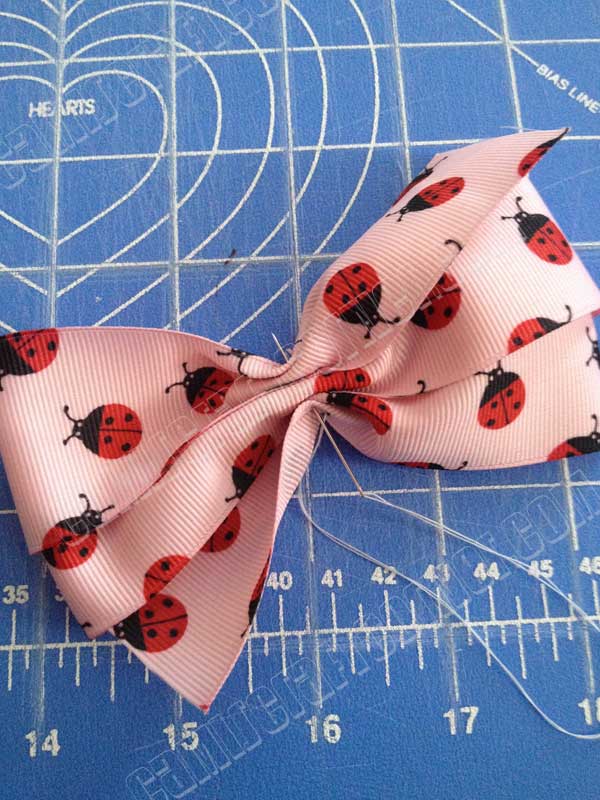 Use the needle to go back through from the side you came out of to keep it tight.
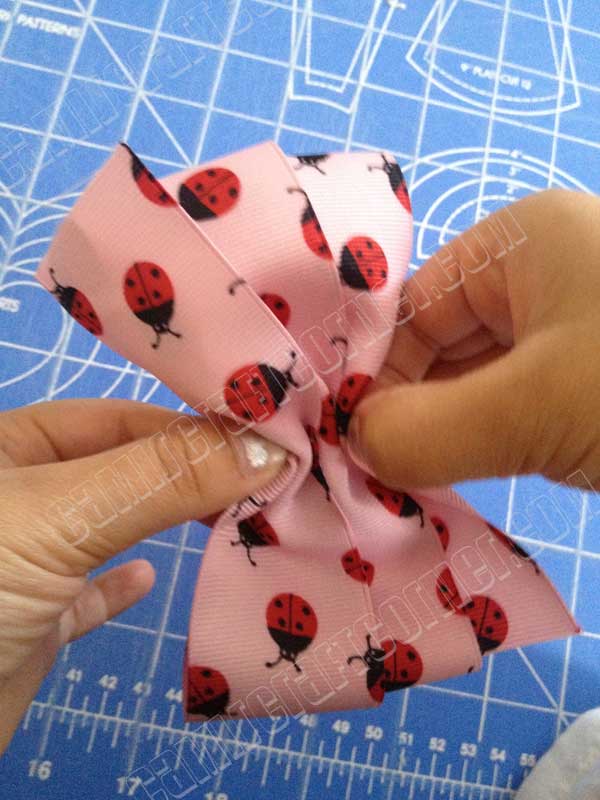
 At this point, if you’re the nervous type, you can go back through one more time, but I just go ahead and knot it.
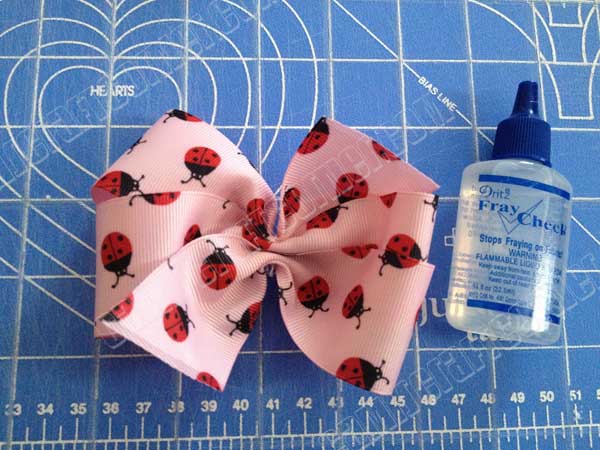
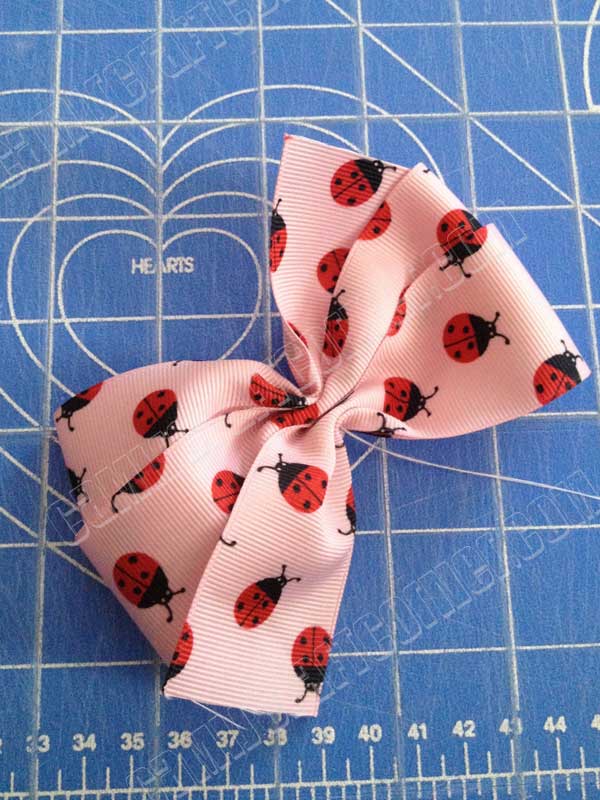
Now is when I cut my ends. I like for them to be cut on a slant, though you may prefer to leave them straight. Again, use SHARP scissors for a clean cut! Run a thin stream of FrayCheck over the edge.
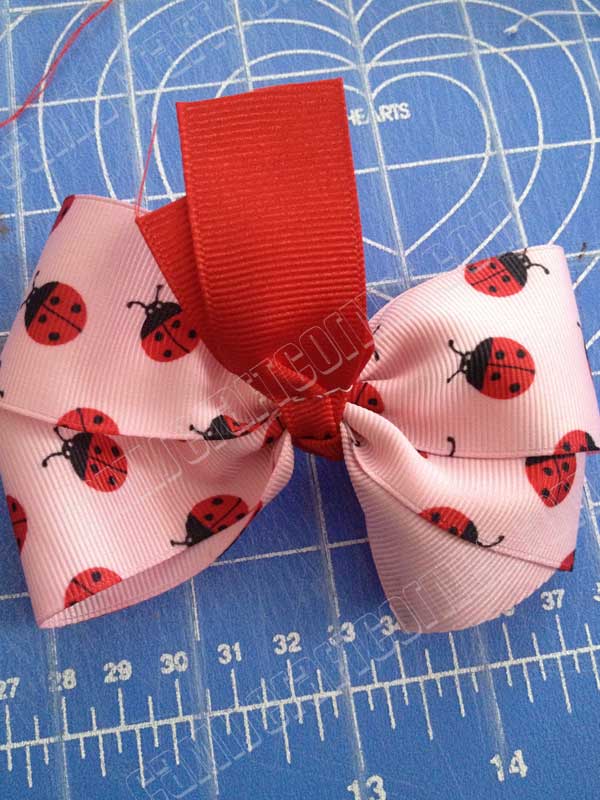
 While that dries, you can make your center. You need a thinner ribbon than you used for the bow. For this size, I use 7/8 inch ribbon.
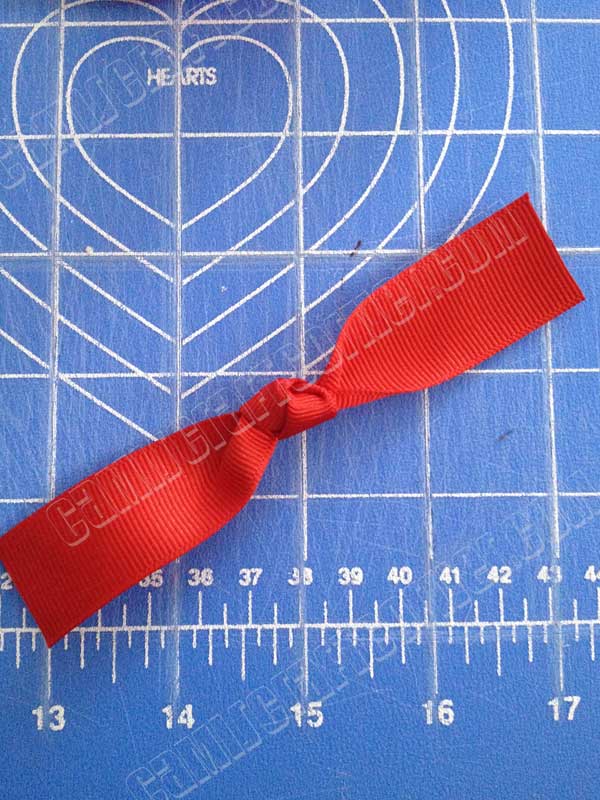
You don’t have to be very precise for this part. Just pull off enough to be able to make a center knot, with about an inch and a half of ribbon on either side. (as you get better at it, you’ll need less ribbon on the side to hold)
 Center the center knot across the bow.
 Then pull the tails to the back
 Pinch together and, once again, use a simple stitch. Double back and tie off.
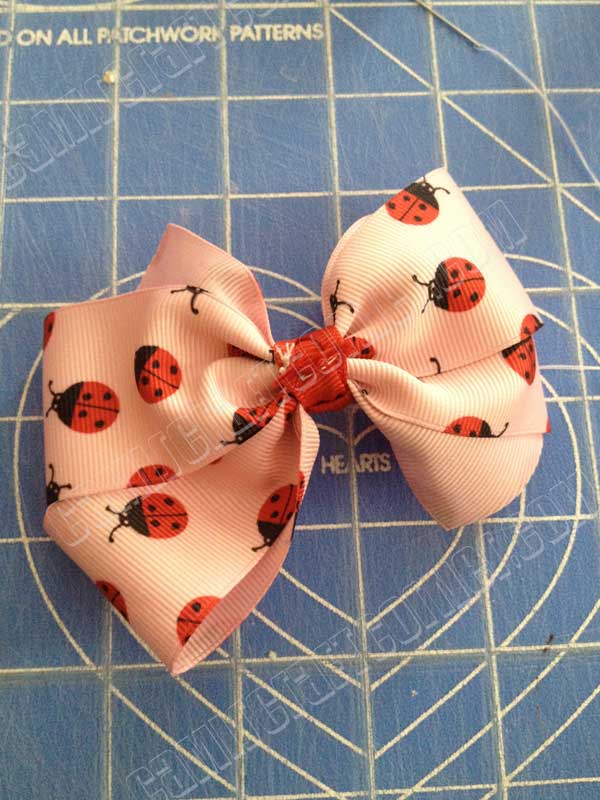 Cut off extra and seal with FrayCheck.
Flip over, fluff up, and you should have an awesome bow!
As far as clips, it’s really up to you. You can glue (super or hot, your choice) on a French clip. You could ribbon wrap an alligator clip (or be lazy and buy them from Michael’s Arts and Crafts/ $1.50 with 40% coupon). I vote for lazy. Or, as I’ve done many a time in a pinch, you can just slip a bobby pin through the back of the center knot, and use that!


