


As further proof that I have no life and that this kid has me wrapped around her little finger…we present our Skating Rink.
Altogether, it took us about 45 minutes and maybe $15 worth of supplies.


You’ll need:
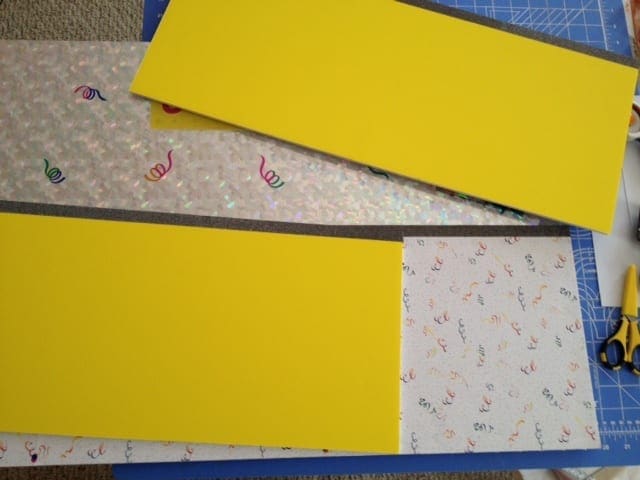
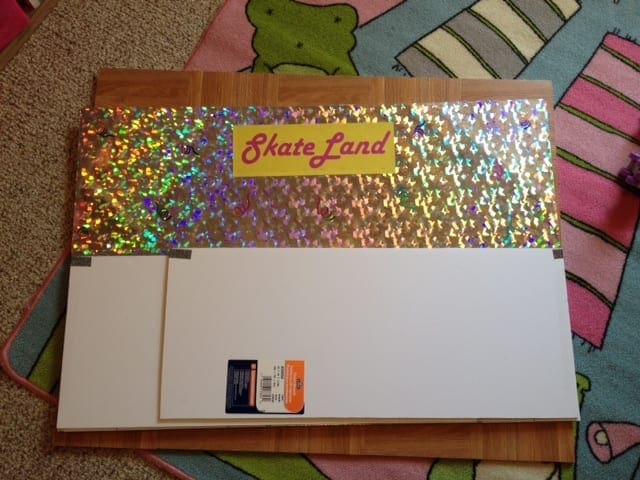
3 Different Pieces of 30”x20” Foam Board. We used a holographic one, a yellow one for walls, and a plain one (that’ll be covered by flooring anyway). Use coupons to bring them all down 40-50%.
5 12×12 pieces of laminate flooring from Home Depot at .79 apiece.
Scrapbook paper. You need at least three pieces to go all the way across the board.

Decorative scrapbook tape for border or chair rail.
Scrapbook stickers for decoration.
Glue, rotary cutter or box cutter, and something to cut on.
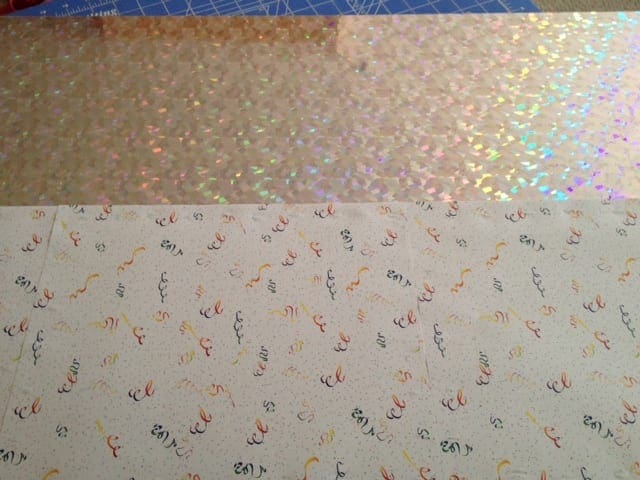
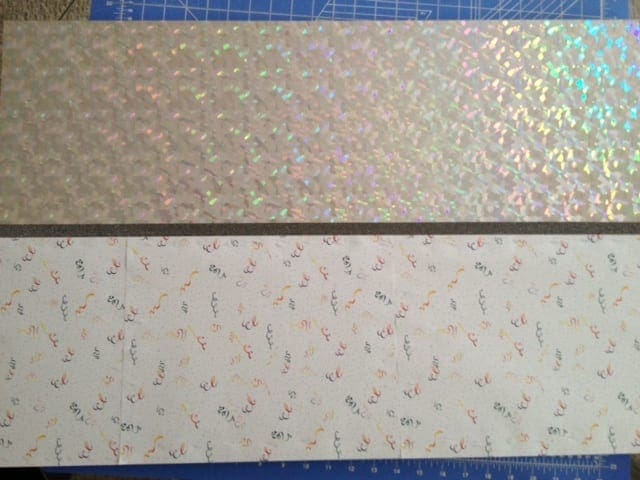
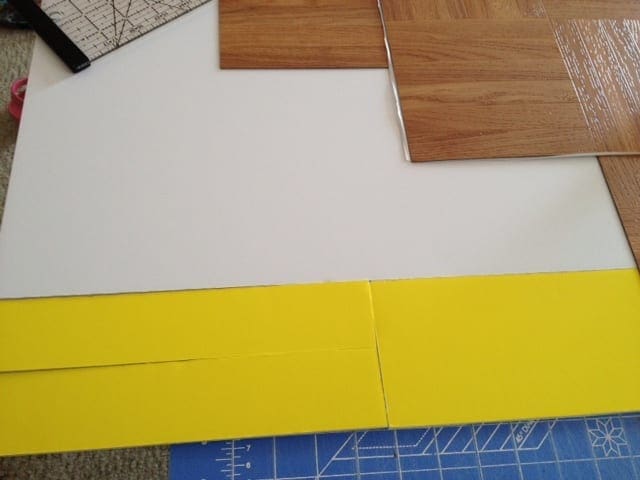
We started by covering the bottom half of the holographic board with our “wallpaper”. Then we added the decorative tape.
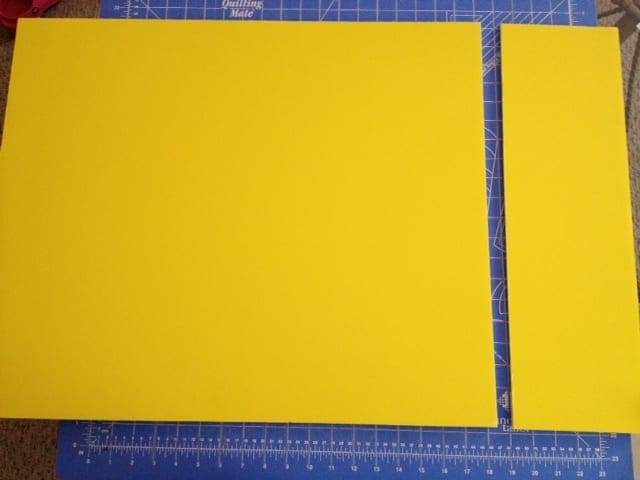
Once that was done (we would add the stickers and sign later) we set the background to the side and moved to the board that would end up being the walls. We turned the board on its side, and then cut 6 inches of length off.
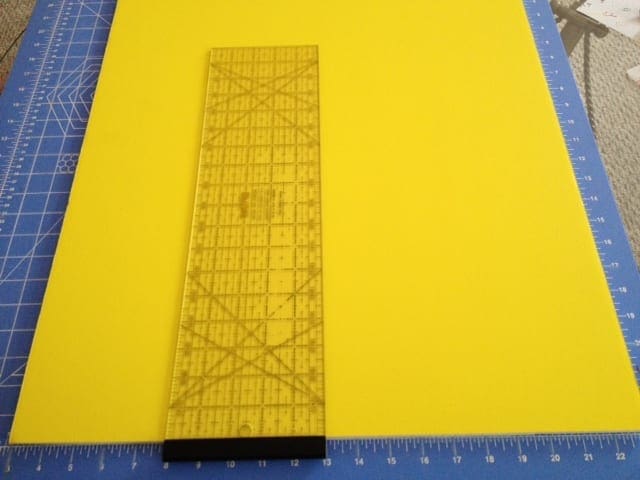
When that’s done, take the larger piece and cut it in half, lengthwise.
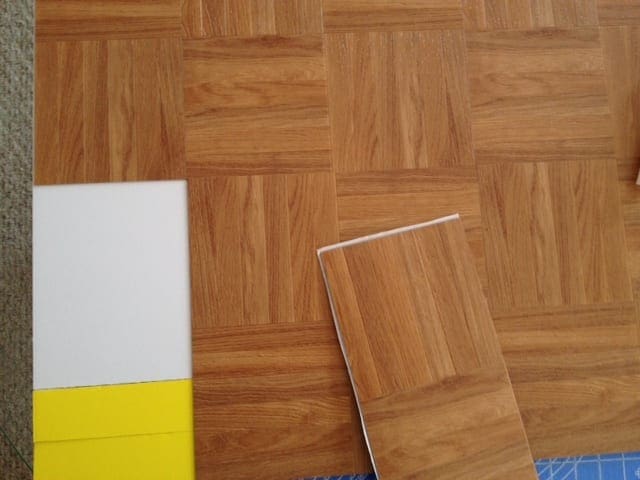
Now, it’s time for the floor.
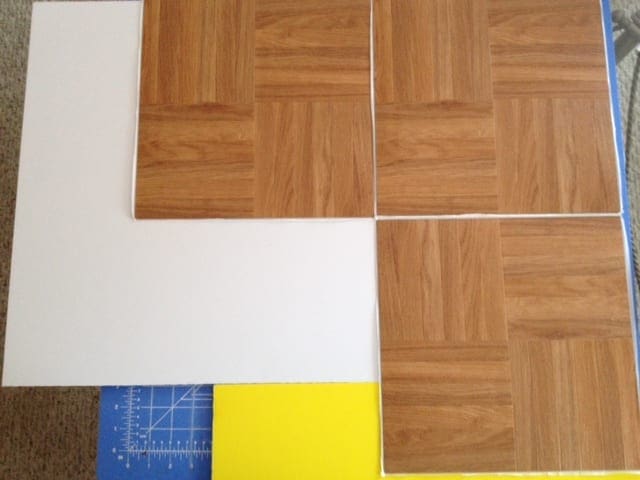
Put the wall pieces to the side and pull out your plain foam board. You’ll want to be able to get two flooring squares on, width-wise, so you need to take the discarded 6 inches of the wall board and add it to the bottom end of the foam board. Yes, you’ll still be missing a piece and you’ll have about two inches of overhang. Don’t worry.
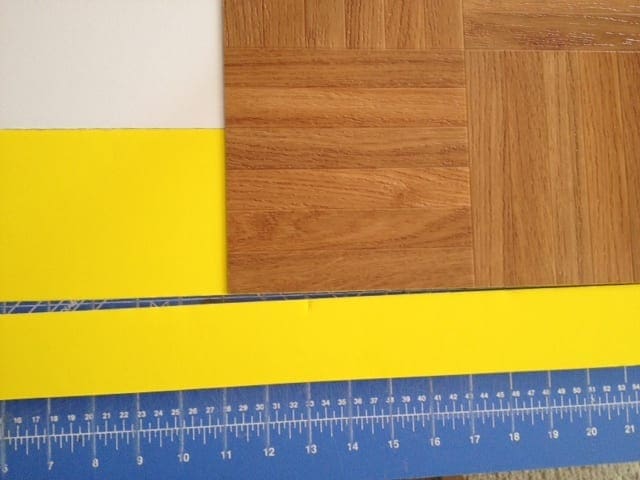
Once you’ve secured the previously pictured 3 squares, you can use your rotary or box cutter to slice off the two inch strip of overhanging foam board.

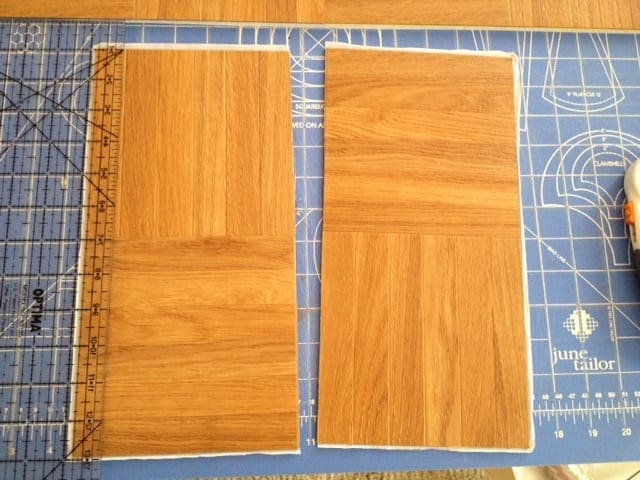
Cut the strip in half.
The two pieces that makes should fit perfectly in the empty space that you need to fill.
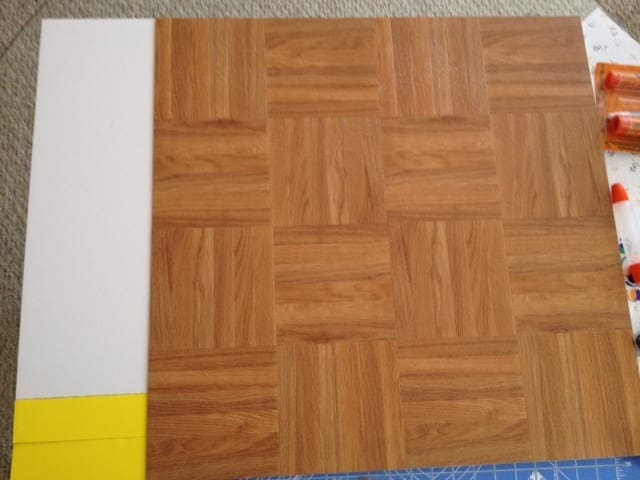
Add your fourth flooring square. You’ll notice that you now have a 6’x 24” space to cover.
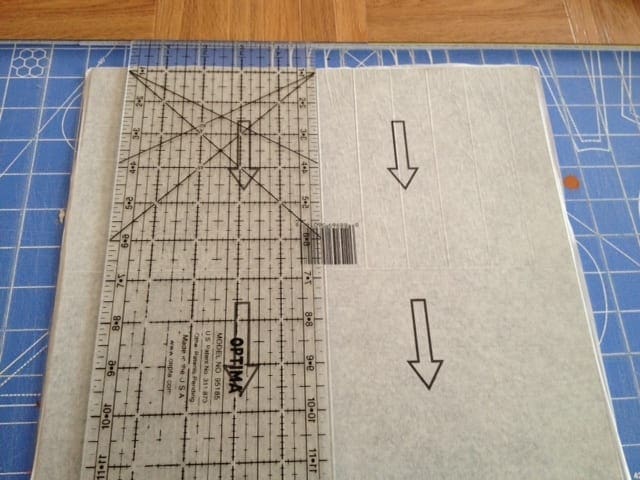
Cut the final flooring square in half. It helps if you slice the back first, bend, then slice the front. Make sure that if your squares have a pattern, you’re cutting in a way that goes along with it.

Add your final pieces, and your floor is done!
Pull out your wall pieces and feel free to decorate however you want.

Finally, we attached the walls to the background with clear packing tape. You’ll notice that I didn’t tape them flush or aligned to the bottom. I did that so that the walls would sit on the wooden floor, while the background was on the real floor.
The best part of this type of scene is that it all folds up flat for easy storage!
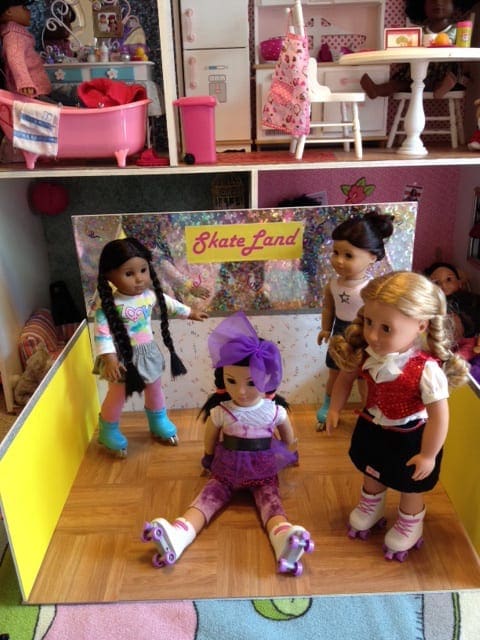 We’re ready to play!


