


We have two different tutu tutorials. Cami’s Craft Corner tulle tutu tutorial and Cami’s Craft Corner fabric tutu tutorial (this one).
This is our first fabric tutu, and I couldn’t have been more thrilled with how it turned out!
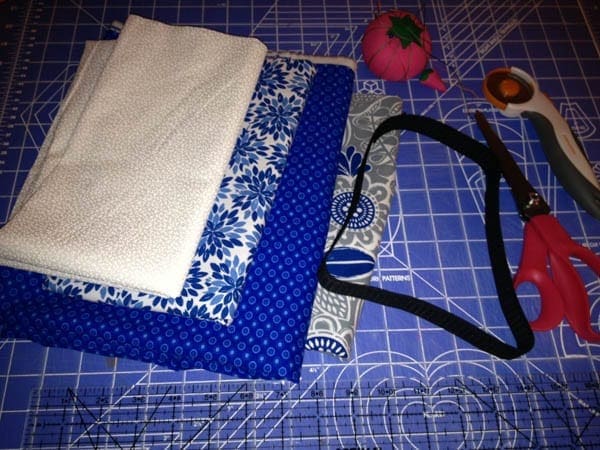
Fabric (I used four yards for a size 7)
Needle/thread
Elastic
Sharp scissors
Pinking shears (optional)
Rotary cutter and mat (optional)
FrayCheck (optional)
Start by measuring your daughter’s waist. I usually just measure out the right amount of elastic and pin it, then let my kid escape. Sew up the circle. I dab fray check on the ends, just in case. I’ve never had elastic start to run, but no sense in taking chances.
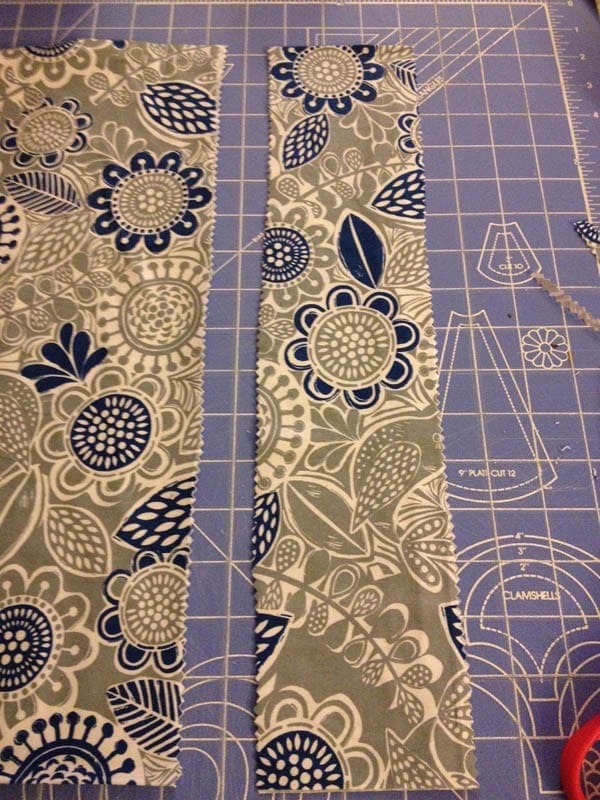
Your fabric will already come folded in half, and it’s best to keep it that way, unless you’re making shorter strips. My daughter is a bit over 15 inches, from hip to knee, so I wanted the strips to be about 17 inches long (folded! Would be 34 inches if the fabric was unfolded). I used a rotary cutter to cut off the extra at the bottom and got started on my strips.
You *can* use a rotary cutter or sharp scissors for your strips, but I decided to use pinking shears to keep this one from fraying (though that is a cute look with the right fabrics!)
I cut 4 inch strips (not neatly at all; I suck at cutting straight with pinking shears, but luckily it all blends well) If your daughter is smaller and you’re cutting shorter strips, you might choose to use thinner strips. Cut a test strip to see how it works if you’re unsure about width.
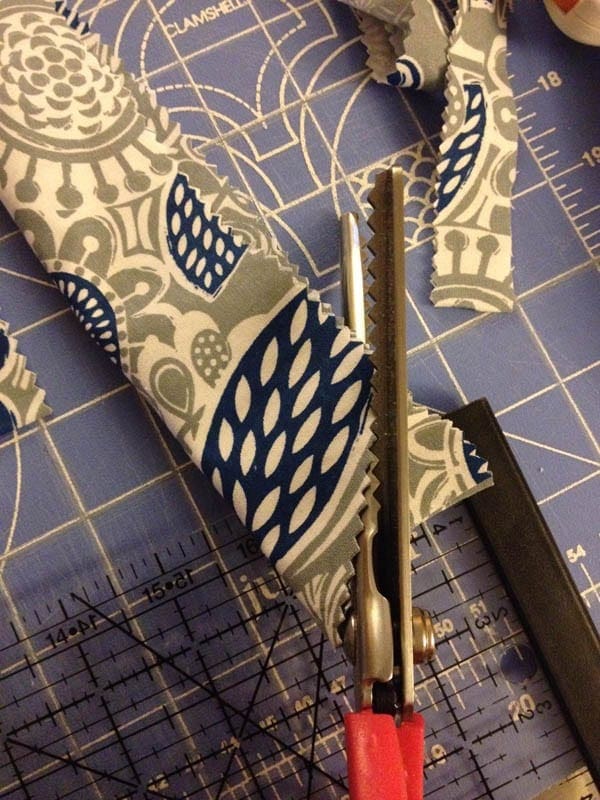
After I cut the strips, I folded them, lengthwise, to snip the ends on a slant (forming points at the ends when you open them back up).
To start, fold your first strip in half and position behind elastic, loop side up.
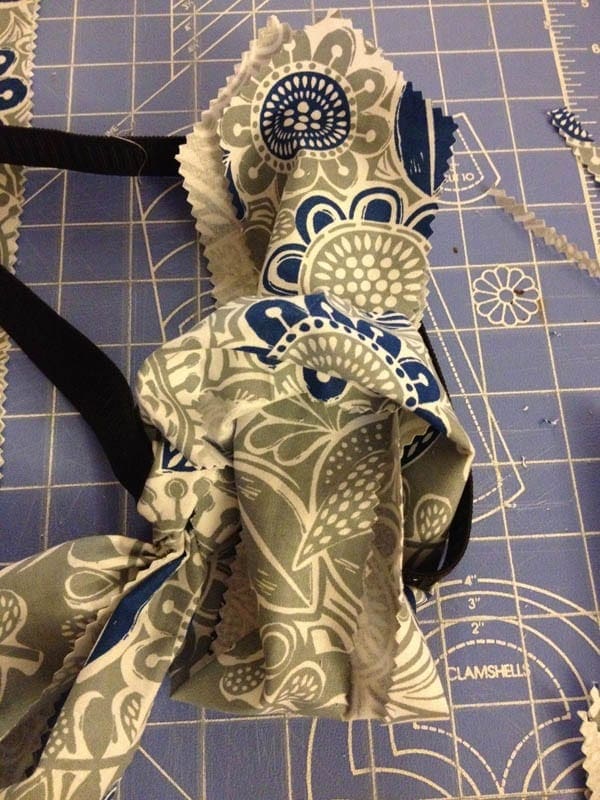
Flip the bottom of the fabric up, over the elastic, and through the loop.
Tighten it the knot a little, easing it around until the fabric is pointing downward.
Tighten the knot a little more, but not enough to bend the elastic.
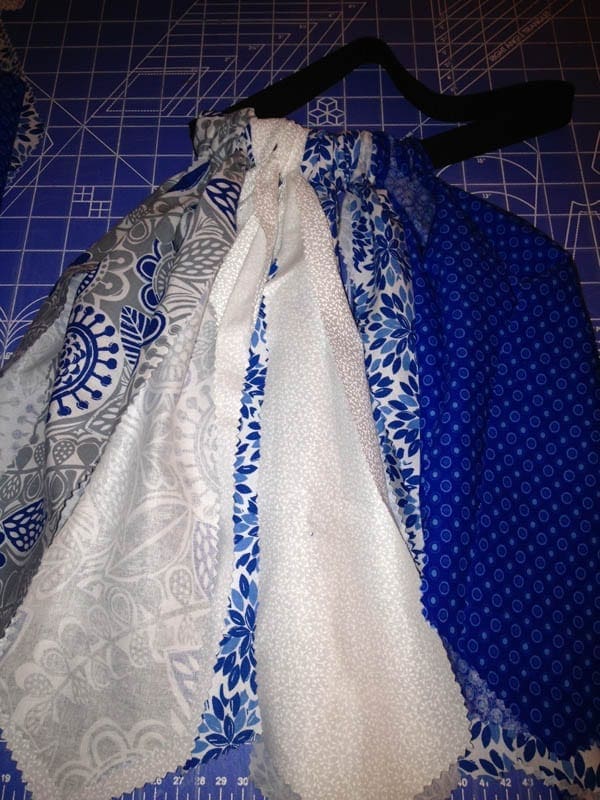
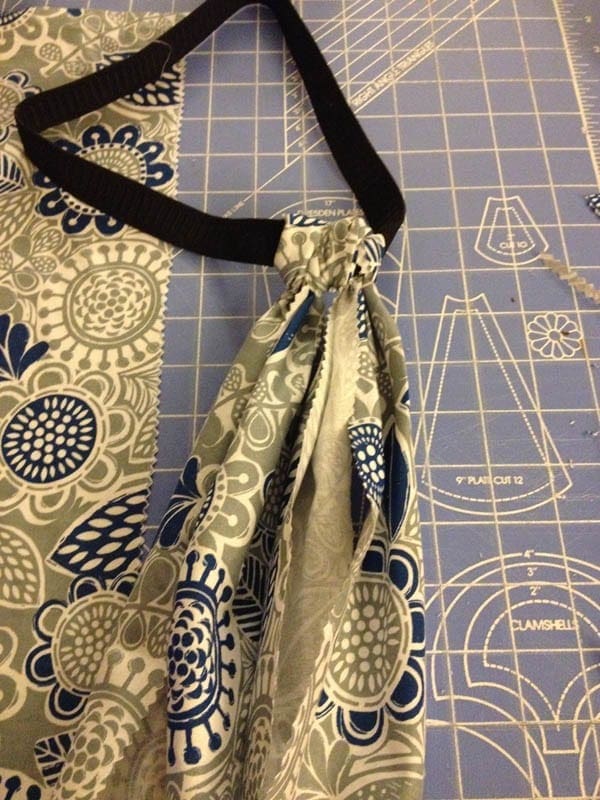
Continue on, adding new strips of fabric. If you’re using multiple colors, put on at least two of one color at a time, so that the colors are distinguished. Otherwise, they tend to blend too much together.
As you go along, you may find it helpful to attach your elastic to something. Just make sure that you don’t stretch out the elastic! You don’t want it to end up too big.
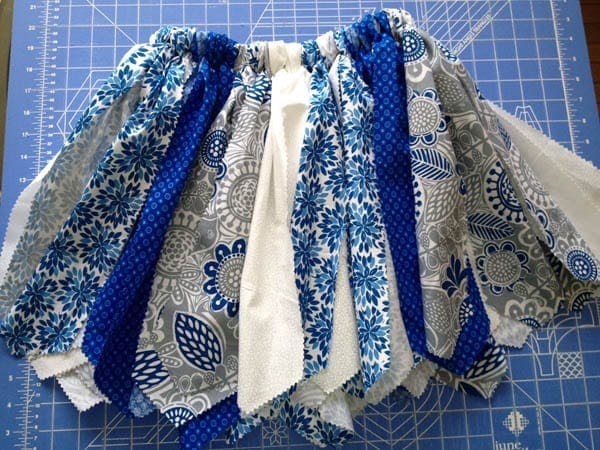
I love the way this turned out, but it was a bit clunky to use the fabric, rather than the tulle that I was used to using. I would suggest doing a couple tulle tutus first, to get the hang of it.
I even had enough fabric left over, to make a matching tutu for her American Girl doll.


")

